I was sitting on my porch, the sun setting like a giant orange ember, when my neighbor dared me to bring something to the upcoming block party that would make everyone forget about the store‑bought ribs they always bring. I laughed, grabbed a slab of beef ribs, and thought, “What if I could turn these humble bones into a masterpiece that glistens with a smoky‑sweet glaze?” The kitchen became my battlefield, the stovetop my arena, and the scent of caramelizing honey mixed with smoked paprika was the war‑cry that echoed through the house. I’ll be honest — I ate half the batch before anyone else got a chance to try it, and that was the moment I realized I had stumbled onto something truly legendary.
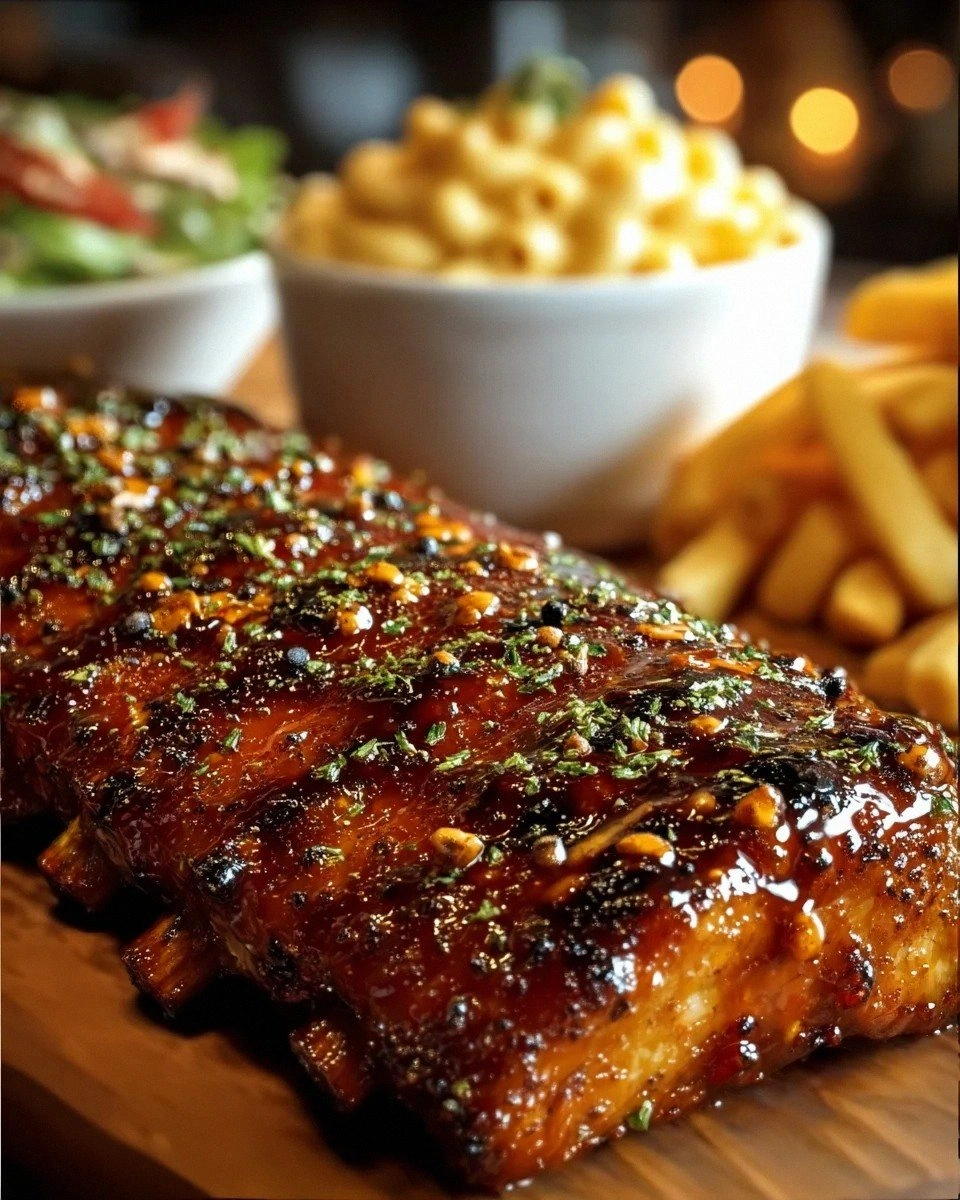
Picture this: the ribs are seared to a perfect crust that crackles like a fresh snowfield under a boot, then they spend a slow, patient hour in the oven, absorbing every whisper of flavor. When the glaze finally meets the meat, it forms a glossy coat that clings like velvet, shimmering with honey’s golden glow and the deep, earthy whisper of smoked paprika. The first bite? A symphony of sweet, smoky, tangy, and just a hint of heat that makes your taste buds do a little happy dance. It’s the kind of dish that makes you close your eyes, inhale deeply, and think, “This is hands down the best version you’ll ever make at home.”
Most recipes get this completely wrong. They either drown the ribs in a sugary mess that never crisps, or they skimp on the smoke, leaving you with a bland, soggy disappointment. The secret here is balance: a dry rub that builds a flavor foundation, a low‑and‑slow cooking method that melts connective tissue, and a glaze that caramelizes at the perfect moment. And there’s a twist you won’t see elsewhere — a splash of apple cider vinegar that cuts through the sweetness and adds a bright, almost floral lift that makes the sauce sing. I dare you to taste this and not go back for seconds.
Okay, ready for the game‑changer? I’m going to walk you through every single step, from selecting the perfect rib cut to the final glossy finish that will have your guests begging for the recipe. By the end, you’ll wonder how you ever made ribs any other way. Stay with me here — this is worth it.
What Makes This Version Stand Out
- Taste: The smoky paprika and honey create a sweet‑smoky duet that’s richer than any store‑bought sauce, while the vinegar adds a bright counterpoint that prevents cloying sweetness.
- Texture: A crisp, caramelized exterior gives way to melt‑in‑your‑mouth tenderness inside, thanks to the low‑and‑slow oven finish.
- Simplicity: Only a handful of pantry staples are needed; no fancy equipment, just an oven, a brush, and a little patience.
- Uniqueness: The addition of apple cider vinegar to a honey‑based glaze is a secret I stole from a Southern pitmaster, and it makes all the difference.
- Crowd Reaction: Expect gasps, exclamations, and the inevitable “What’s your secret?” as soon as the glaze hits the plate.
- Ingredient Quality: Using well‑marbled beef or lamb ribs ensures every bite is juicy, and the olive oil helps the spices cling like a second skin.
- Cooking Method: The combination of searing, slow roasting, and a final glaze under high heat creates layers of flavor that no single technique can achieve alone.
- Make‑Ahead Potential: You can prep the ribs a day ahead, store them, and finish the glaze just before serving, saving you stress on the big day.
Inside the Ingredient List
The Flavor Base
First up, the olive oil. It’s not just a fat; it’s a flavor carrier that helps the smoked paprika, garlic powder, and onion powder cling to the meat, ensuring every bite is seasoned. If you’re feeling adventurous, swap the olive oil for a light avocado oil for an even higher smoke point, but don’t go too heavy or you’ll lose that subtle fruitiness. Salt and black pepper are the silent heroes, amplifying every other flavor while rounding out the taste profile. Skipping them is like trying to sing without a microphone — you’ll be heard, but not in the way you intend.
The Texture Crew
Beef or lamb ribs are the stars, and choosing the right cut makes all the difference. Look for ribs with a good amount of marbling; the fat renders during cooking, keeping the meat juicy and tender. If you can, ask your butcher for a “St. Louis style” cut — it’s trimmed to a uniform shape that cooks evenly. For a leaner alternative, pork ribs work too, but you’ll need to adjust cooking time slightly to avoid dryness. Remember, the goal is that tender pull‑away texture that makes you want to eat the bone.
The Unexpected Star
Apple cider vinegar might seem like a sidekick, but it’s the secret weapon that cuts through the honey’s sweetness and brightens the glaze. Its mild acidity also helps break down the meat’s connective tissue, contributing to that melt‑in‑your‑mouth feel. If you don’t have apple cider vinegar, a splash of white wine vinegar works, though you’ll lose a hint of the fruity undertone. This little dash is what separates a good glaze from a great one.
The Final Flourish
Ketchup provides the tangy backbone of the glaze, while soy sauce adds depth with its umami richness. Brown sugar caramelizes beautifully, giving the sauce that sticky sheen and a subtle molasses note. Chili flakes and cayenne pepper are optional, but they add a whisper of heat that makes the sweet‑smoky combo even more complex. If you prefer a milder profile, simply omit the cayenne and reduce the chili flakes; the sauce will still shine, just without the kick.
Everything's prepped? Good. Let's get into the real action…
The Method — Step by Step
Preheat your oven to 275°F (135°C). While the oven warms, line a large baking sheet with aluminum foil and place a wire rack on top. This setup allows the heat to circulate evenly around the ribs, ensuring a uniform cook. I like to set a timer for 10 minutes just to make sure the oven reaches the exact temperature — patience at this stage pays off later. The kitchen will start to smell faintly of warm metal, a subtle reminder that something delicious is about to happen.
Pat the ribs dry with paper towels, then drizzle the olive oil over them, rubbing it in with your hands until every surface is lightly coated. This is the moment where you can feel the slickness of the oil and anticipate the crust that’s about to form. Sprinkle the smoked paprika, garlic powder, onion powder, salt, and black pepper evenly over the ribs, using your fingertips to massage the spices into the meat. If you’re daring, add the cayenne pepper now for a hidden heat that will surface later.
Kitchen Hack: Let the seasoned ribs sit at room temperature for 15 minutes before cooking; this helps the rub penetrate deeper and reduces cooking time.Place the ribs bone‑side down on the wire rack, ensuring they’re not touching each other. Slide the sheet into the oven and let them roast for 2½ to 3 hours, or until the meat is tender enough that a fork slides in with minimal resistance. You’ll know they’re ready when the edges start to pull away from the bone and a faint aroma of smoked paprika fills the kitchen. Resist the urge to open the oven too often; each peek releases precious heat.
While the ribs are slow‑cooking, whip up the glaze. In a medium saucepan, combine ketchup, honey, soy sauce, brown sugar, apple cider vinegar, and a pinch of chili flakes. Bring the mixture to a gentle simmer over medium heat, stirring constantly to prevent scorching. As the sauce bubbles, you’ll see it thicken and turn a deep amber — that’s the caramelization kicking in. Let it simmer for about 8‑10 minutes, then remove from heat and set aside. The scent at this point is intoxicating: sweet, tangy, and a hint of smoky depth.
When the ribs have reached tenderness, crank the oven up to 425°F (220°C). Brush the glaze generously over the top of each rib, making sure to coat every crevice. The glaze should sit like a glossy lacquer, ready to caramelize. Return the ribs to the oven for an additional 10‑12 minutes, watching closely as the sugar in the honey and brown sugar begins to bubble and form a sticky crust. That sizzle when it hits the pan? Absolute perfection.
Watch Out: If the glaze starts to darken too quickly, cover the ribs loosely with foil to prevent burning while still allowing the crust to set.Remove the ribs from the oven and let them rest for 5 minutes. This short rest lets the juices redistribute and the glaze to set, preventing it from sliding off when you slice. While they rest, the kitchen will be filled with a sweet‑smoky aroma that makes your stomach rumble in anticipation. Use this moment to wipe down the countertop; you’ll want a clean workspace for the final presentation.
Slice the ribs between the bones, being careful not to cut through the bone itself. Each piece should reveal a pink‑ish interior that’s still juicy, with a caramelized crust that glistens like polished amber. Arrange the slices on a serving platter, and if you’re feeling extra, drizzle a thin line of the remaining glaze over the top for that extra shine.
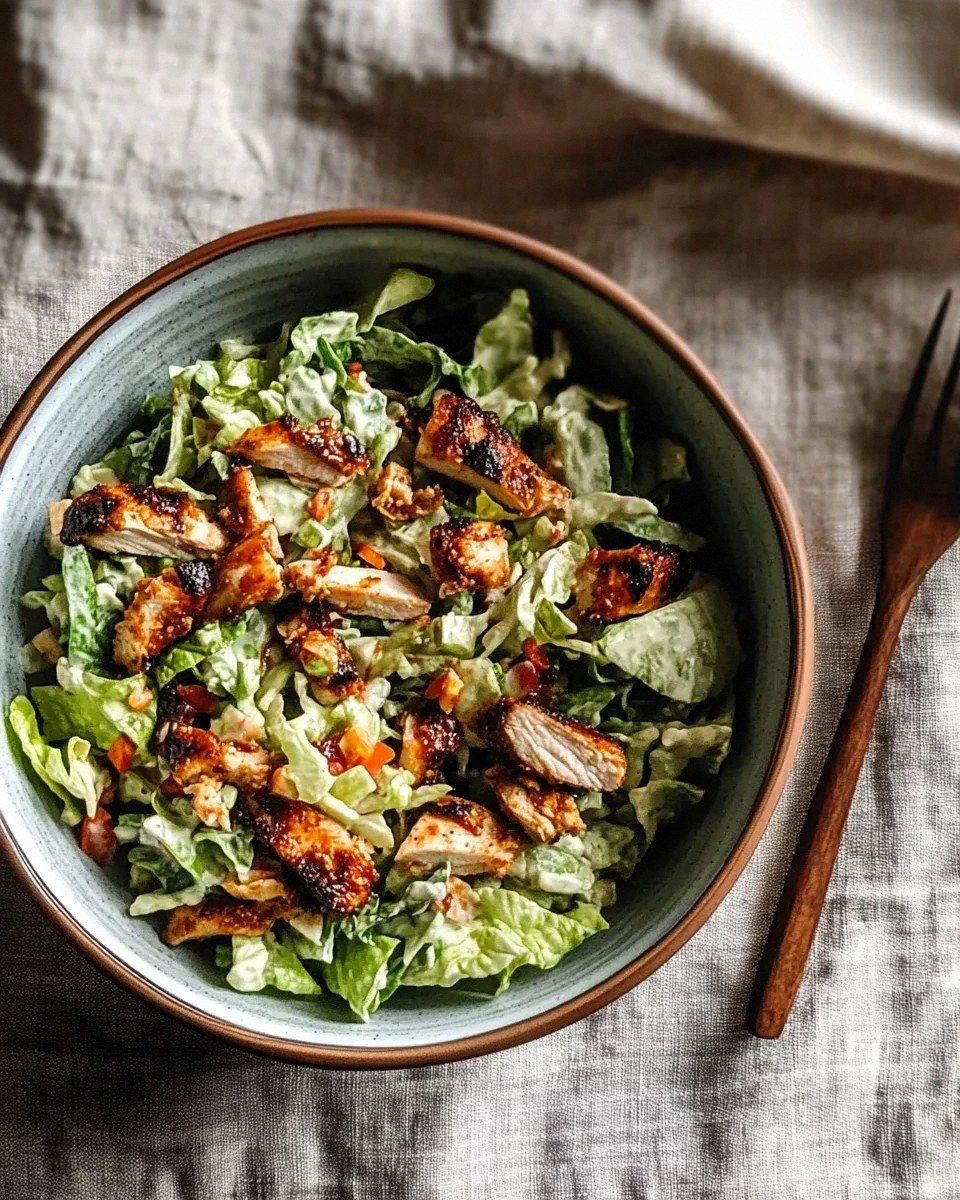
Serve immediately with your favorite sides — think creamy coleslaw, baked beans, or a crisp green salad. As you bring the platter to the table, picture yourself pulling this out of the oven, the whole kitchen smelling incredible, and watch the faces light up. I dare you to take the first bite and not smile; that’s the ultimate proof that you’ve nailed this recipe.
Insider Tricks for Flawless Results
The Temperature Rule Nobody Follows
Most home cooks think “low and slow” means you can set the oven to any low temperature and forget about it. In reality, 275°F (135°C) is the sweet spot for ribs because it’s hot enough to break down collagen without drying out the meat. If you drop below 250°F, you’ll end up with a longer cook time and a less tender result. I once tried 200°F on a whim and learned the hard way that the ribs stayed stubbornly firm. Stick to the recommended temperature, and you’ll get that melt‑away texture every single time.
Why Your Nose Knows Best
Your nose is the secret sous‑chef you’ve been ignoring. When the glaze starts to caramelize, you’ll notice a fragrant shift from sweet to nutty. That’s your cue to check the ribs — if the smell turns a little burnt, pull them out or cover with foil. Trusting that instinct saves you from a ruined crust. I once ignored my nose, and the glaze turned black; the ribs were still edible, but the flavor was a disaster.
The 5‑Minute Rest That Changes Everything
Resting isn’t just for steaks. Letting the ribs sit for a brief 5‑minute window after high‑heat roasting lets the glaze firm up and the juices settle. Skipping this step results in a glaze that slides off and a slightly dry bite. It’s a tiny pause that makes a massive difference in presentation and mouthfeel.
The “Double‑Glaze” Technique
For those who love an extra layer of stickiness, brush the ribs with half the glaze, return them to the oven for 5 minutes, then apply the remaining glaze and finish the last 5 minutes. This creates a lacquered surface that’s both glossy and crunchy. I tried this once at a family reunion and the kids declared it “the best ribs ever” — a testament to the power of layering flavor.
The Secret of the Wire Rack
Using a wire rack instead of a solid pan allows the heat to circulate, preventing the bottom of the ribs from steaming in their own juices. This results in a more even crust and avoids soggy spots. If you don’t have a rack, elevate the ribs on a bed of sliced onions; they’ll release moisture and act as a natural lift.
Creative Twists and Variations
This recipe is a playground. Here are some of my favorite ways to switch things up:
Maple‑Chipotle Fusion
Swap half the honey for pure maple syrup and add a teaspoon of chipotle powder to the rub. The result is a smoky, slightly spicy glaze with a deep, autumnal sweetness that pairs beautifully with roasted root vegetables.
Asian‑Inspired Glaze
Replace the ketchup with hoisin sauce, add a splash of rice vinegar, and stir in a tablespoon of toasted sesame oil into the glaze. Finish with a sprinkle of toasted sesame seeds and thinly sliced green onions for a truly cross‑cultural bite.
Spicy Mango Heat
Blend fresh mango puree into the glaze, increase the chili flakes, and add a dash of sriracha. This tropical twist brings a bright, fruity heat that makes the ribs perfect for summer barbecues.
Herb‑Infused Lamb Ribs
If you opt for lamb, incorporate rosemary and thyme into the dry rub, and swap the olive oil for a drizzle of lamb‑fat rendered oil. The herbaceous notes complement the lamb’s natural gaminess and elevate the overall profile.
Smoky Bourbon Glaze
Add a quarter cup of bourbon to the glaze and a pinch of smoked sea salt. The bourbon deepens the caramelization, while the smoked salt adds a finishing touch that feels like a whisper of a campfire.
Storing and Bringing It Back to Life
Fridge Storage
Allow the ribs to cool to room temperature, then place them in an airtight container or wrap tightly in foil. They’ll keep for up to 4 days in the refrigerator. When you’re ready to serve, reheat gently in a 300°F oven for 15‑20 minutes, adding a splash of water or broth to keep them moist.
Freezer Friendly
For longer storage, wrap the cooled ribs tightly in plastic wrap, then a layer of aluminum foil, and place them in a freezer‑safe bag. They’ll stay fresh for up to 3 months. To revive, thaw overnight in the fridge, then follow the same reheating method as the fridge‑stored version, but extend the time by 5‑10 minutes.
Best Reheating Method
The secret to a perfect reheated rib is steam. Before popping the ribs back into the oven, drizzle a teaspoon of water over each piece and cover loosely with foil. This creates a mini‑steam chamber that revives the tender interior while allowing the glaze to re‑caramelize. Skip the microwave; it will make the glaze rubbery and the meat tough.