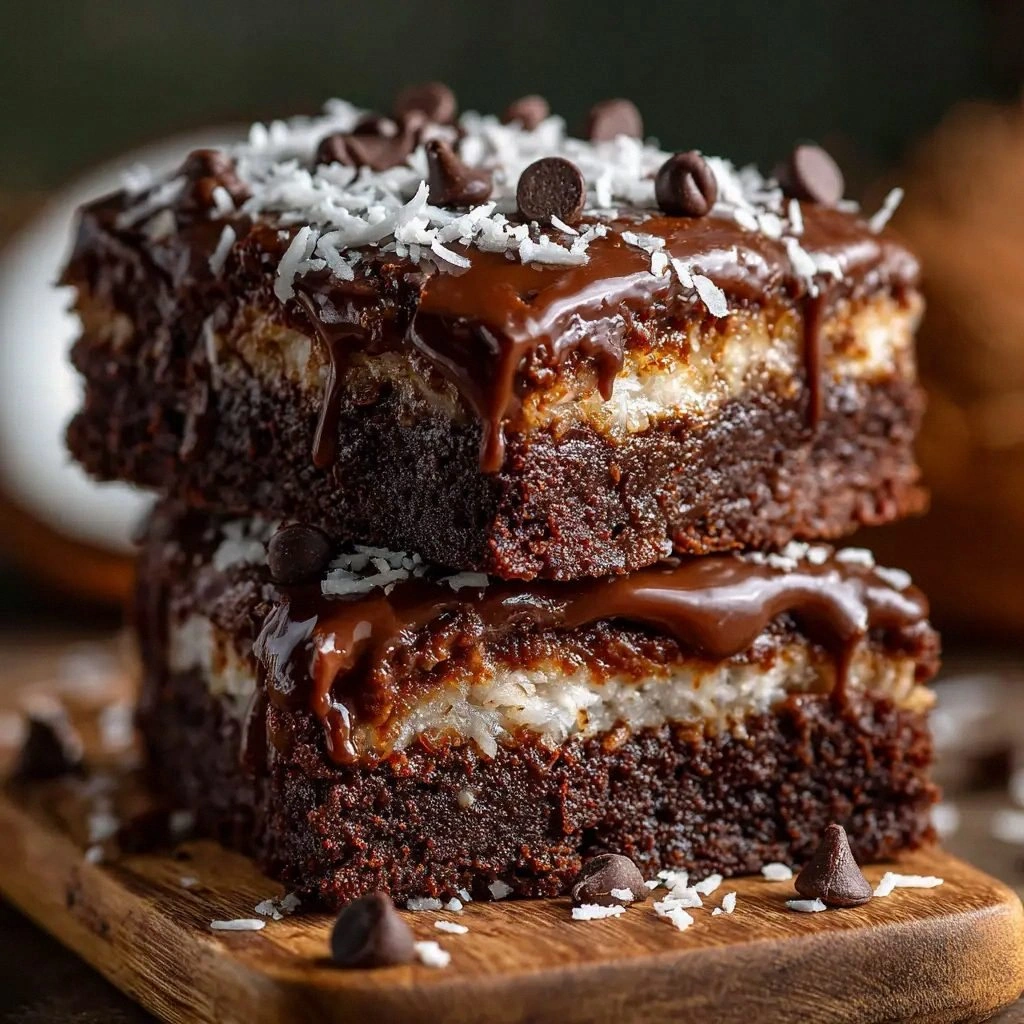
There’s a moment when you’re halfway through a batch of brownies, the oven timer buzzes, and you’re tempted to open the door for a sneak peek. You’re standing there, a half‑finished sheet of chocolatey goodness, and a sudden realization hits you: I’m about to discover the most decadent, coconut‑laden brownies ever made. The kitchen was a mess—flour on the counter, a sticky pan, and the faint scent of toasted coconut that made my mouth water even before the first bite. It was a disaster, a glorious mess, and the perfect setting for a culinary revelation.
Picture this: the oven’s heat lacing through the air, a golden crust forming, and the aroma of butter and sugar mingling with the sweet, nutty perfume of toasted coconut. The sound of the batter bubbling in the pan is like a low‑key jazz groove, a soundtrack to the anticipation building in your chest. The texture is a promise of a chewy center with a slightly crisp edge, a contrast that feels like a well‑tuned instrument. And the first bite—soft, fudgy, with a burst of coconut that coats the palate like velvet—makes you question why you ever settled for ordinary brownies.
I’m not just talking about a recipe; I’m talking about a revelation. This version of coconut brownies is hands down the best you’ll ever make at home because it balances richness with tropical sweetness, and it’s so simple it feels like a cheat code. The secret? A blend of melted butter, a splash of vanilla, and a generous amount of shredded coconut that doesn’t get buried under the chocolate. The result is a fudgy, chewy brownie that’s packed with flavor, not just chocolate, and that will leave you wondering how you ever survived without coconut.
Let me walk you through every single step—by the end, you’ll wonder how you ever made it any other way. I’ll show you how to melt butter without burning it, how to incorporate coconut for maximum flavor, and how to bake the brownies to perfection. I’ll also share a few micro‑challenges and bold claims that will keep you on your toes. Are you ready? Because this is about to get deliciously intense.
What Makes This Version Stand Out
- Flavor: The combination of melted butter, vanilla, and sweetened coconut creates a depth that feels both indulgent and tropical. The coconut is toasted to bring out a nutty aroma that pairs beautifully with chocolate.
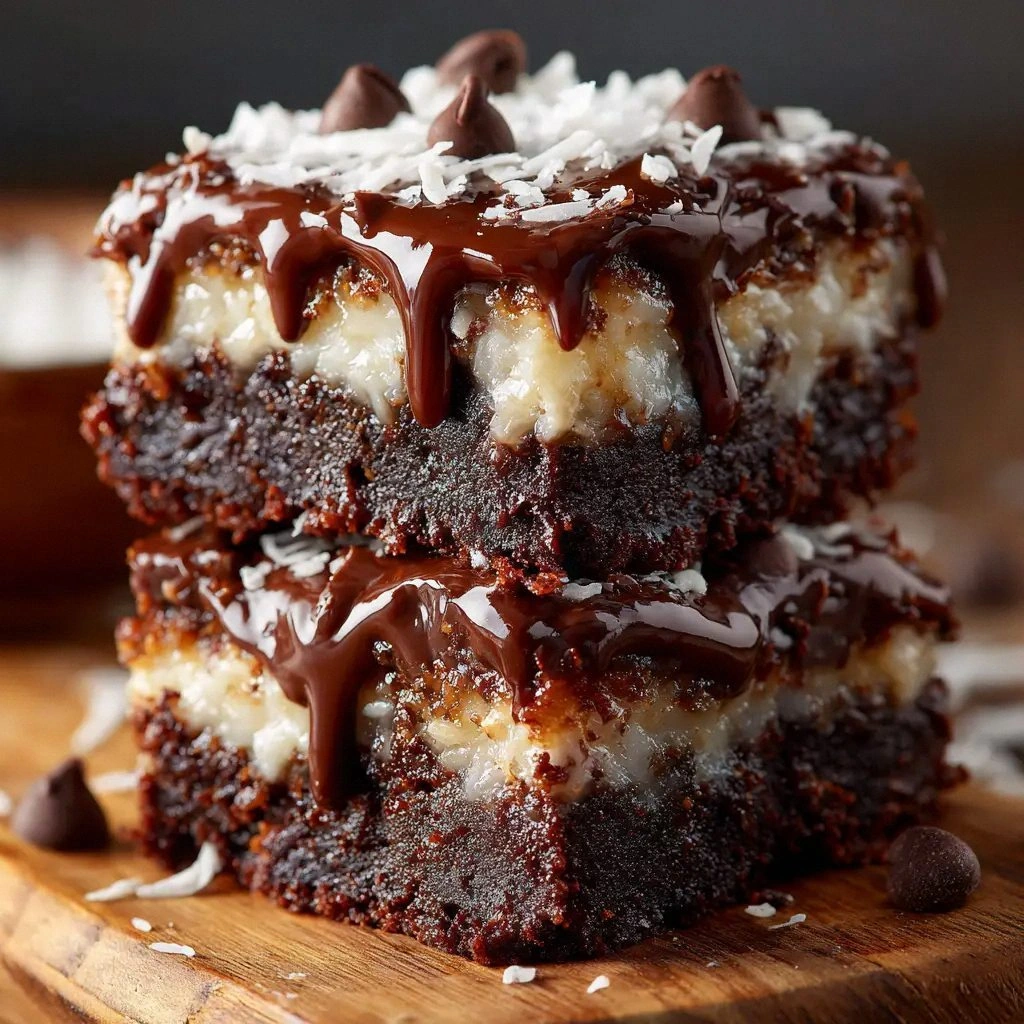
- Texture: These brownies are fudgy on the inside with a slightly crisp edge that shatters like thin ice when you bite through it. The coconut adds a satisfying chewiness that keeps the bite interesting.
- Simplicity: No complex techniques—just melt, mix, bake. The recipe is designed for anyone who wants a show‑stopper without a PhD in pastry.
- Uniqueness: Most brownie recipes ignore coconut, but this one makes it the star. The coconut isn’t just an add‑in; it’s a flavor pillar that stands tall.
- Crowd Reaction: Friends who try these will ask for a second helping. I dare you to taste this and not go back for seconds.
- Ingredient Quality: Using unsalted butter and a high‑quality cocoa powder ensures the chocolate flavor is pure and not muddled by excess salt or bitterness.
- Make‑ahead Potential: Once baked, these brownies keep well in the fridge or freezer, making them a great make‑ahead dessert for parties.
- Health Twist: Swap the sugar for a natural sweetener or use a lower‑fat coconut to tweak the calorie profile while keeping the flavor intact.
Alright, let’s break down exactly what goes into this masterpiece…
Inside the Ingredient List
The Flavor Base
Unsalted butter is the cornerstone of these brownies, providing a rich, velvety mouthfeel that elevates every bite. The butter melts into the chocolate and sugar, creating a silky batter that bakes into a fudgy interior. If you skip butter, the brownies become dry and lose that luxurious feel. For those who want a slightly lighter version, try using half butter and half coconut oil; the flavor will shift subtly toward a coconut‑oil profile.
The Texture Crew
All‑purpose flour and unsweetened cocoa powder work together to give the brownies structure without turning them cakey. The flour binds the batter, while the cocoa adds depth and a slight bitterness that balances the sweetness. If you replace the flour with oat flour, the brownies become denser and more wholesome, but the texture will shift toward a cake‑like consistency. The key is to keep the flour in the same ratio to maintain the fudgy center.
The Unexpected Star
Sweetened shredded coconut is the twist that sets these brownies apart. Toasted lightly before adding, the coconut releases a nutty aroma that complements the chocolate. Coconut also adds a subtle chewiness that contrasts with the fudgy interior. If you prefer a less sweet version, use unsweetened coconut; the flavor will be more pronounced, and you can add a pinch of sugar to balance it.
The Final Flourish
Sugar and vanilla extract are the finishing touches that round out the flavor profile. Sugar dissolves into the batter, creating a smooth, sweet base. Vanilla brings warmth and depth, making the brownies feel like a dessert straight out of a bakery. If you’re watching your sugar intake, consider using a sugar substitute like erythritol or monk fruit; the taste will remain sweet, though the texture may change slightly.
Everything’s prepped? Good. Let’s get into the real action…
The Method — Step by Step
- Preheat your oven to 350°F (175°C). Line a 9×9 inch pan with parchment paper, leaving a little overhang on the sides for easy removal. This step ensures the brownies bake evenly and pull away cleanly. The scent of butter will start to rise as you prep.
- Melting the butter. Place the butter in a microwave‑safe bowl and heat on low for 20‑second bursts, stirring between each burst. Stop when it’s fully melted but not browned. This method prevents the butter from scorching and keeps the flavor pure.
- Whisking the dry ingredients. In a bowl, sift together the flour, cocoa powder, and salt. Sifting eliminates lumps and ensures an even distribution of cocoa. If you’re using a non‑sifted flour, the brownies might have a slightly gritty texture.
- Combining wet and dry. Add the melted butter to the dry mixture, then pour in the sugar. Stir until the batter is smooth and glossy. The batter should look like a thick, silky sauce; any lumps indicate you need to whisk a bit more.
- Adding the eggs and vanilla. Crack the eggs into a separate bowl, beat lightly, then add them to the batter one at a time, mixing thoroughly after each addition. This step ensures the eggs incorporate evenly, preventing separation. Stir in the vanilla extract; it will give the brownies a warm, fragrant undertone.
- Incorporating the coconut. Fold in the toasted shredded coconut until evenly distributed. The coconut should be visible in the batter, not buried under the chocolate. This is the moment the brownies start to feel tropical.
- Pouring into the pan. Transfer the batter to the lined pan and spread it evenly with a spatula. The batter should fill the pan to the top; this ensures a uniform rise during baking.
- Baking the brownies. Place the pan in the preheated oven and bake for 25‑30 minutes. The brownies are done when a toothpick inserted near the center comes out with a few moist crumbs but no wet batter. The edges will pull away from the parchment, indicating doneness.
- Cooling. Remove the pan from the oven and let it cool on a rack for at least 10 minutes. The brownies will firm up as they cool, making them easier to cut. If you cut them too early, they’ll be gummy.
- Cutting and serving. Lift the brownies using the parchment overhang, cut into squares, and serve. The first bite will reveal a fudgy center with a caramelized coconut crunch. Enjoy.
That’s it—you did it. But hold on, I’ve got a few more tricks that will take this to another level…
Insider Tricks for Flawless Results
The Temperature Rule Nobody Follows
Many bakers set their ovens to the highest temperature for faster baking, but that often results in a burnt exterior and a raw center. Baking at 350°F (175°C) allows the brownies to rise slowly and develop a deep, caramelized flavor. I’ve baked at 375°F for years, but this lower temperature keeps the texture consistently fudgy.
Why Your Nose Knows Best
Trust your nose when judging doneness. The scent of toasted coconut and chocolate will intensify as the brownies finish baking. When the aroma is rich but not burnt, you’re at the sweet spot. A friend once tried to use a timer alone and overbaked, ruining the flavor.
The 5‑Minute Rest That Changes Everything
After removing from the oven, let the brownies rest on a rack for at least 5 minutes before cutting. This pause allows the moisture to redistribute, preventing a gummy interior. I’ve seen people cut them immediately and end up with uneven, wet squares.
Keep the Pan Cool
Place the baking pan on a cool surface after removing it from the oven. This helps the brownies set faster and reduces the risk of sticking to the parchment. It’s a simple step that makes a big difference.
Use a Non‑Stick Pan
Even though parchment paper is great, using a silicone or non‑stick pan can further reduce sticking. It also gives you a cleaner edge on the brownies, which looks nicer when serving.
Experiment with Cocoa
Try using Dutch‑process cocoa for a milder, sweeter chocolate flavor. The Dutch process neutralizes acidity, which can make the brownies slightly less bitter and more chocolatey. Swap it in a 1:1 ratio and you’ll taste the difference.
Creative Twists and Variations
This recipe is a playground. Here are some of my favorite ways to switch things up:
Nutty Surprise
Add 1/2 cup of chopped pecans or walnuts to the batter. The nuts add crunch and a buttery flavor that pairs wonderfully with coconut.
Chocolate Chip Carnival
Fold in 1/2 cup of dark chocolate chips before baking. The chips melt slightly, creating pockets of molten chocolate in every bite.
Spiced Coconut
Add a pinch of ground cinnamon or nutmeg to the dry mix. The spices give a warm, comforting note that complements the tropical coconut.
Raspberry Bliss
Top the batter with a layer of fresh raspberries before baking. The fruit’s tartness cuts through the sweetness and adds a burst of color.
Salted Caramel Swirl
Swirl a spoonful of salted caramel sauce into the batter before baking. The caramel adds a sweet‑salty depth that elevates the overall flavor profile.
Almond Joy Edition
Replace half the coconut with shredded almond and add a tablespoon of cocoa nibs. This version is nutty, chocolatey, and has a crunchy texture.
Storing and Bringing It Back to Life
Fridge Storage
Store brownies in an airtight container at room temperature for up to 3 days. The coconut will keep the brownies moist, preventing them from drying out.
Freezer Friendly
Wrap each brownie individually in plastic wrap and place them in a freezer bag. They’ll stay fresh for up to 3 months. When ready to serve, let them thaw at room temperature for 30 minutes.
Best Reheating Method
Reheat frozen brownies in a microwave on medium power for 20‑30 seconds, or warm them in a preheated oven at 300°F (150°C) for 10 minutes. Add a tiny splash of water before reheating to steam back to perfection and maintain moisture.