Love this? Pin it for later! 📌
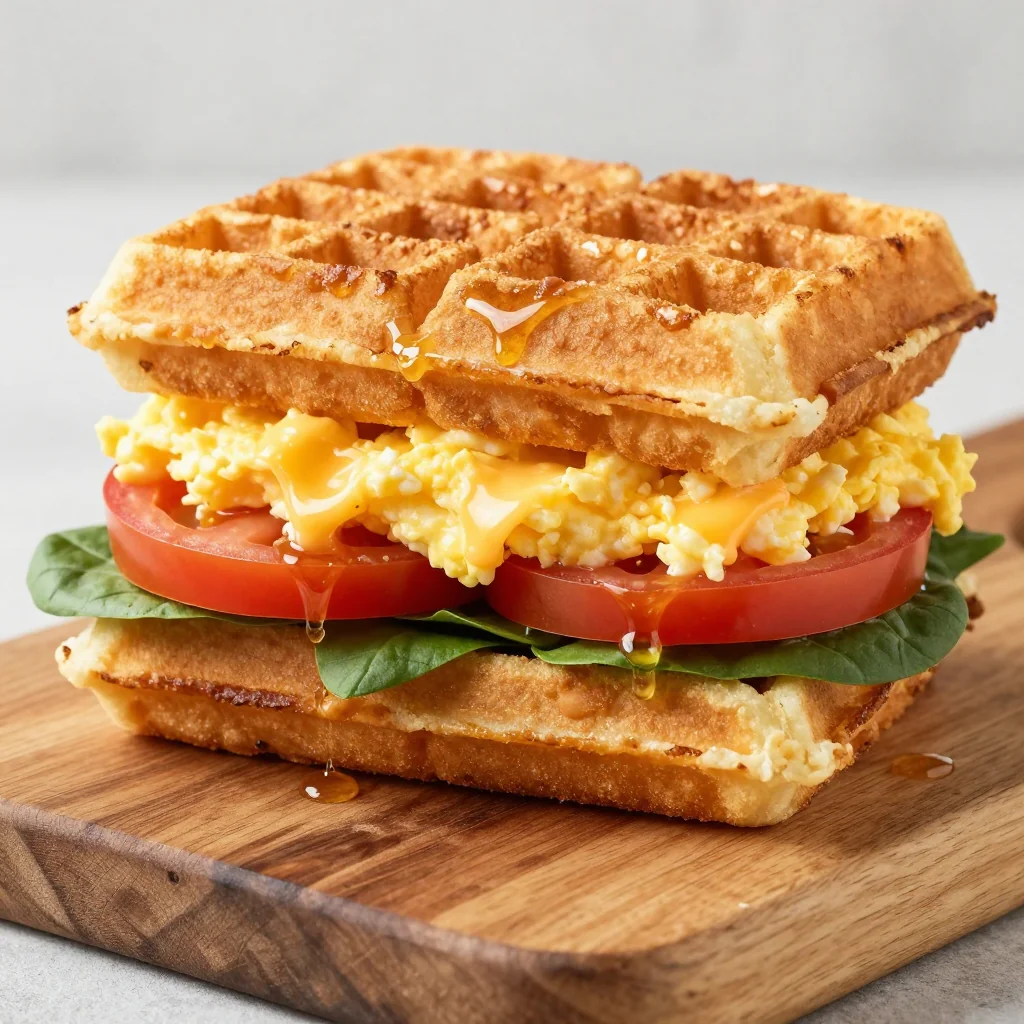
Imagine pulling a golden, crispy waffle sandwich stuffed with fluffy eggs, melty cheese, and savory sausage from your freezer on a chaotic Monday morning. Ninety seconds in the microwave and breakfast is served—no drive-thru, no mess, no stress. That’s the magic of these make-ahead waffle sandwiches, the breakfast MVP I’ve relied on through three cross-country moves, two newborns, and more early-morning flights than I care to count.
I first started batch-cooking these pockets of morning joy when my husband began a 5 a.m. commute. Overnight oats got old fast, smoothies left him hungry by 8 a.m., and the local café’s $8 breakfast sandwich was destroying our budget. One lazy Sunday I pressed a sheet-pan of waffles, scrambled a skillet of eggs, and assembled a dozen sandwiches wrapped in parchment. Into the freezer they went, and by Friday he was still raving about how the waffles stayed crisp, the cheese melted just right, and the sausage patty didn’t taste like cardboard. Word spread at his office; soon I was the unofficial breakfast dealer, trading sandwiches for fresh coffee beans and homemade granola.
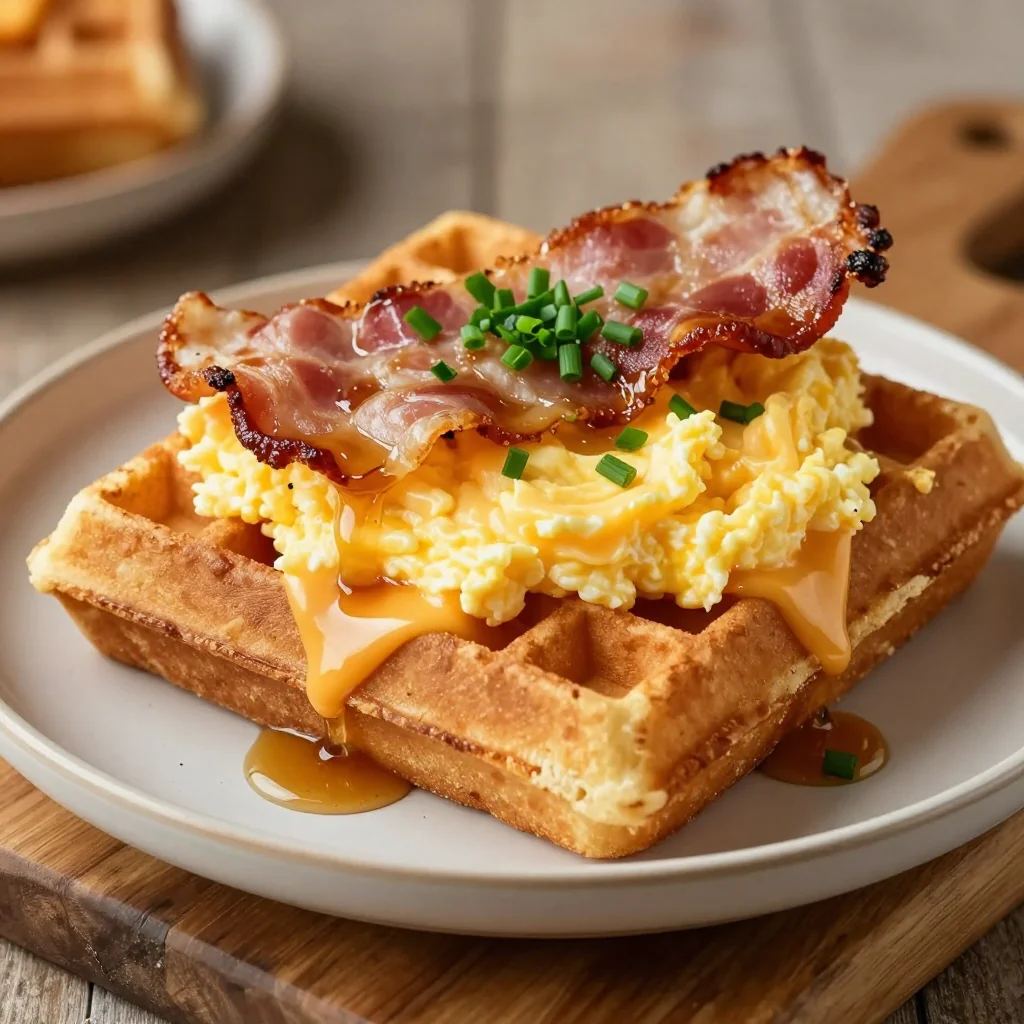
Fast-forward six years and these freezer-friendly waffle sandwiches have become my go-to gift for new parents, college students, and anyone navigating life transitions. They’re handheld comfort, a hug you can heat. The waffles are lightly sweetened so they pair beautifully with savory fillings, yet sturdy enough to freeze and reheat without turning soggy. You can customize them with turkey bacon, vegetarian sausage, or even swap in gluten-free waffles. Best of all, kids think they’re eating dessert for breakfast—score one for stealth nutrition.
Why This Recipe Works
- Freezer-Engineered Waffles: A touch of cornstarch in the batter guarantees crisp edges after reheating.
- Sheet-Pan Eggs: Baking the eggs in a rimmed cookie sheet creates one perfect slab—no flipping required.
- Cheese Barrier: A slice of cheese on both the top and bottom waffle prevents sogginess by sealing in moisture.
- Parchment Wrappers: Individually wrapping each sandwich means you can grab one or twelve without freezer-bum glue.
- 90-Second Reheat: Microwave from frozen on 50 % power, then a quick toast in a dry skillet for bakery-level crunch.
- Balanced Macros: Each sandwich delivers 18 g protein, complex carbs, and calcium—enough to keep you full until lunch.
Ingredients You'll Need
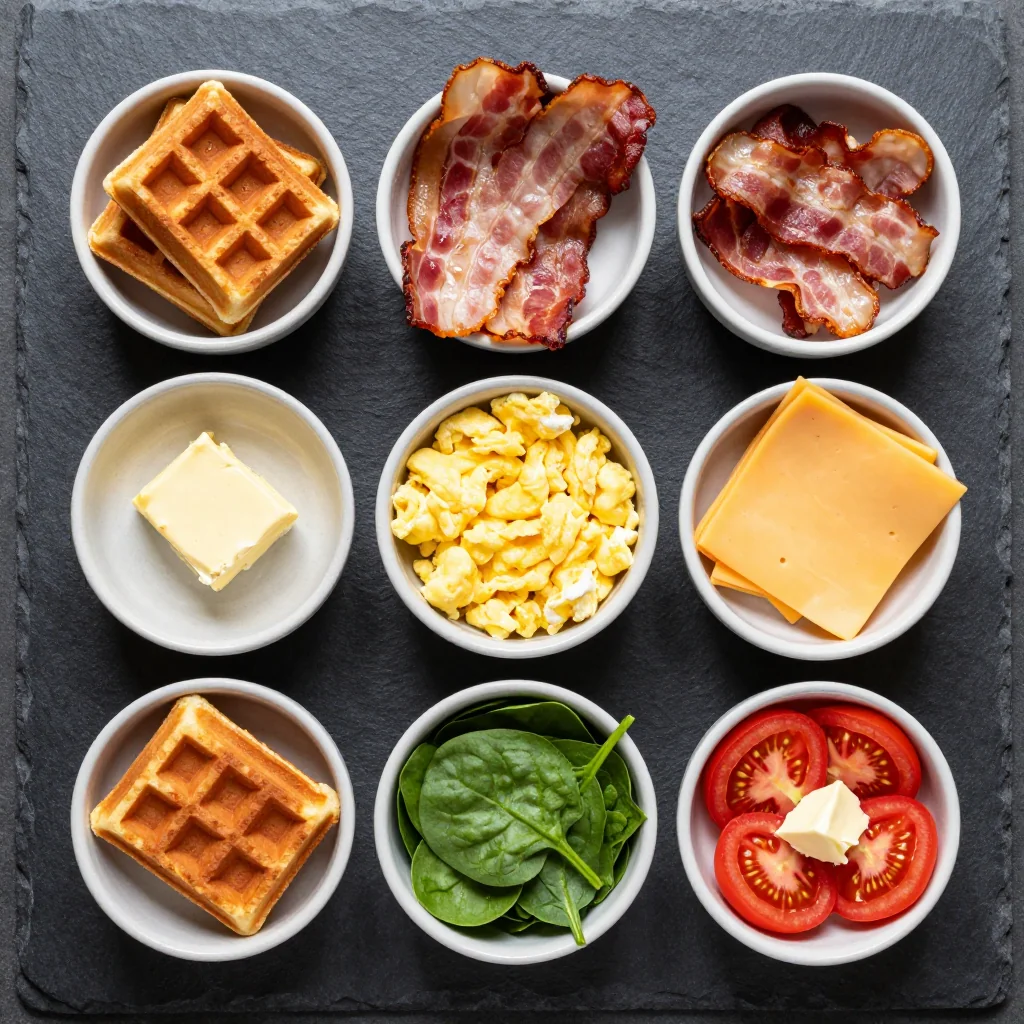
Great freezer meals start with high-quality ingredients that hold their texture and flavor after a deep chill. Below is a complete rundown of what goes into these sandwiches, plus smart substitutions so you can shop your pantry first.
For the Make-Ahead Waffles
- All-purpose flour: Provides structure. Swap in white-whole-wheat flour for extra fiber without density.
- Cornstarch: The secret weapon for crispy edges that survive the microwave. If you’re out, arrowroot or potato starch works too.
- Baking powder + baking soda: Double leavening for lofty waffles that freeze beautifully.
- Salt & cinnamon: A whisper of spice makes these waffles taste like classic diner fare.
- Eggs: Two whole eggs plus one yolk enrich the batter, promoting tender crumbs.
- Whole milk: Fat equals flavor and moisture. Oat or soy milk are fine plant-based stand-ins.
- Melted butter: Browning the butter first adds nutty depth; coconut oil is a dairy-free option.
- Maple syrup: Just two tablespoons give a subtle sweetness that pairs with savory fillings.
- Vanilla extract: Rounds out the flavor so the waffles taste bakery-fresh.
For the Breakfast Filling
- Large eggs: Eight eggs fill a half-sheet pan to the perfect thickness for sandwiching.
- Cottage cheese: Whisked into the eggs for ultra-fluffy texture; you won’t taste it, but you’ll feel it.
- Spinach: A sneaky handful of greens wilts in the oven—kids never notice.
- Salt & pepper: Season every layer for a restaurant-quality bite.
- Precooked chicken sausage: I use apple-chicken links for a sweet-savory pop. Turkey or veggie sausage are excellent too.
- Sharp cheddar slices: Buy the deli counter kind; it melts creamier than packaged singles.
Pantry & Freezer Tools
- Parchment paper squares (6-inch) for wrapping
- Half-sheet pan + silicone mat or parchment
- Freezer-grade zip bags or reusable silicone pouches
- Permanent marker for labeling
How to Make Freezer-Friendly Breakfast Waffle Sandwich
Brown the Butter & Prep Dry Mix
In a small saucepan melt 6 Tbsp unsalted butter over medium heat. Swirl occasionally until the milk solids turn chestnut brown and smell nutty, 3–4 minutes. Immediately pour into a heat-proof bowl to stop cooking. In a large bowl whisk 2 c all-purpose flour, 2 Tbsp cornstarch, 1 Tbsp baking powder, ½ tsp baking soda, ½ tsp salt, and ¼ tsp cinnamon.
Whisk Wet Ingredients
In a separate bowl combine 2 large eggs, 1 extra yolk, 1¾ c whole milk, 2 Tbsp maple syrup, and 1 tsp vanilla. Slowly drizzle in the cooled brown butter while whisking to emulsify.
Make the Batter
Pour wet mixture into dry and fold with a spatula just until no flour streaks remain. Lumps are your friend; over-mixing develops gluten and yields tough waffles. Let the batter rest 10 minutes while you preheat your waffle iron to medium-high.
Cook & Cool Waffles
Lightly grease the iron. Pour ⅓ cup batter per section and cook until deep golden, 3–4 minutes. Transfer waffles to a wire rack so steam escapes; skip stacking so they stay crisp. Repeat until you have 12 waffles (about 2 batches in a standard iron).
Sheet-Pan Eggs
Heat oven to 350 °F. Line a 13×18-inch rimmed sheet pan with parchment. Blend 8 eggs, ½ c cottage cheese, ½ tsp salt, ¼ tsp pepper until smooth. Stir in 1 c chopped baby spinach. Pour into pan, tilting to reach corners. Bake 12–14 minutes, until just set in center. Cool 5 minutes, then invert onto a cutting board and slice into 12 squares.
Brown the Sausage
While eggs bake, slice 12 precooked chicken sausages lengthwise and sear cut-side down in a hot skillet 2 minutes per side for caramelized edges. This extra step intensifies flavor and prevents rubbery texture after reheating.
Assemble
Lay waffles flat, interior side up. Place one slice of cheddar, one egg square, one sausage half, and a second slice of cheddar. Top with second waffle and press gently so cheese seals edges.
Wrap & Freeze
Wrap each sandwich in a 6-inch parchment square, then in aluminum foil. Label with date and contents. Arrange in a single layer in freezer until solid, then transfer to a large zip bag for up to 2 months.
Expert Tips
Reheat Low & Slow
Microwave on 50 % power for 60–90 seconds, then toast in a dry skillet 30 seconds per side for bakery-level crunch.
Prevent Sog
Let hot ingredients cool completely before assembly; steam trapped inside wrappers is the enemy of crispness.
Double-Batch Sundays
Make two flavor variations at once—one veggie, one meat—so breakfast boredom never strikes.
Flash-Freeze First
Place unwrapped sandwiches on a sheet pan for 1 hour before bagging; they’ll keep their shape and won’t stick together.
Color-Code Wrappers
Use different color parchment for each variety—green for spinach, red for sausage—so you can grab your favorite half-asleep.
Overnight Thaw Option
Move tomorrow’s sandwich to the fridge before bed; it reheats in 45 seconds and tastes oven-fresh.
Variations to Try
-
Southwestern
Add diced roasted red peppers and Monterey Jack; serve with salsa for dipping.
-
Caprese
Swap sausage for fresh mozzarella, tomato slice, and basil pesto.
-
Apple-Cheddar
Tuck in thin apple slices and use white cheddar; drizzle with honey after reheating.
-
Everything Bagel
Mix everything-seasoning into the waffle batter and replace sausage with smoked salmon.
-
Spicy Maple
Stir 1 tsp chipotle powder into the eggs and brush waffles with maple-butter after reheating.
Storage Tips
Proper storage is the linchpin of grab-and-go success. Once assembled, the sandwiches must cool completely—30 minutes at room temperature then 15 minutes in the fridge—to prevent ice crystals. Wrap each sandwich in parchment first; it acts as a microwave-safe steam vent and keeps the waffle from sticking to foil. Double-wrap in heavy-duty aluminum foil if you plan to keep them longer than one month. For ultimate freshness, slip the foil bundles into a labeled gallon zip bag, squeeze out excess air, and nestle flat in the coldest part of your freezer (back bottom shelf). Reheat straight from frozen or thaw overnight; either way, never use the microwave’s “high” setting or you’ll have rubbery eggs and limp waffles.
Frequently Asked Questions
Freezer-Friendly Breakfast Waffle Sandwich
Ingredients
Instructions
- Make Waffles: Whisk dry ingredients. Combine wet ingredients, fold together, and cook in preheated waffle iron until golden. Cool completely.
- Sheet-Pan Eggs: Blend eggs, cottage cheese, salt, pepper; stir in spinach. Pour into parchment-lined 13×18 pan. Bake at 350 °F for 12–14 min. Cool and cut into 12 squares.
- Sear Sausage: Split sausages lengthwise and brown cut-side down in skillet 2 min per side.
- Assemble: On each waffle bottom place 1 slice cheddar, 1 egg square, 1 sausage half, another cheddar slice, and top waffle.
- Wrap: Wrap each sandwich in parchment, then foil. Freeze flat, then store in zip bag up to 2 months.
- Reheat: Microwave frozen sandwich on 50 % power 90 seconds, then toast in dry skillet 30 seconds per side until crisp.
Recipe Notes
For extra-crispy edges, pop the reheated sandwich into a mini waffle iron for 1 minute—trust me, life-changing!