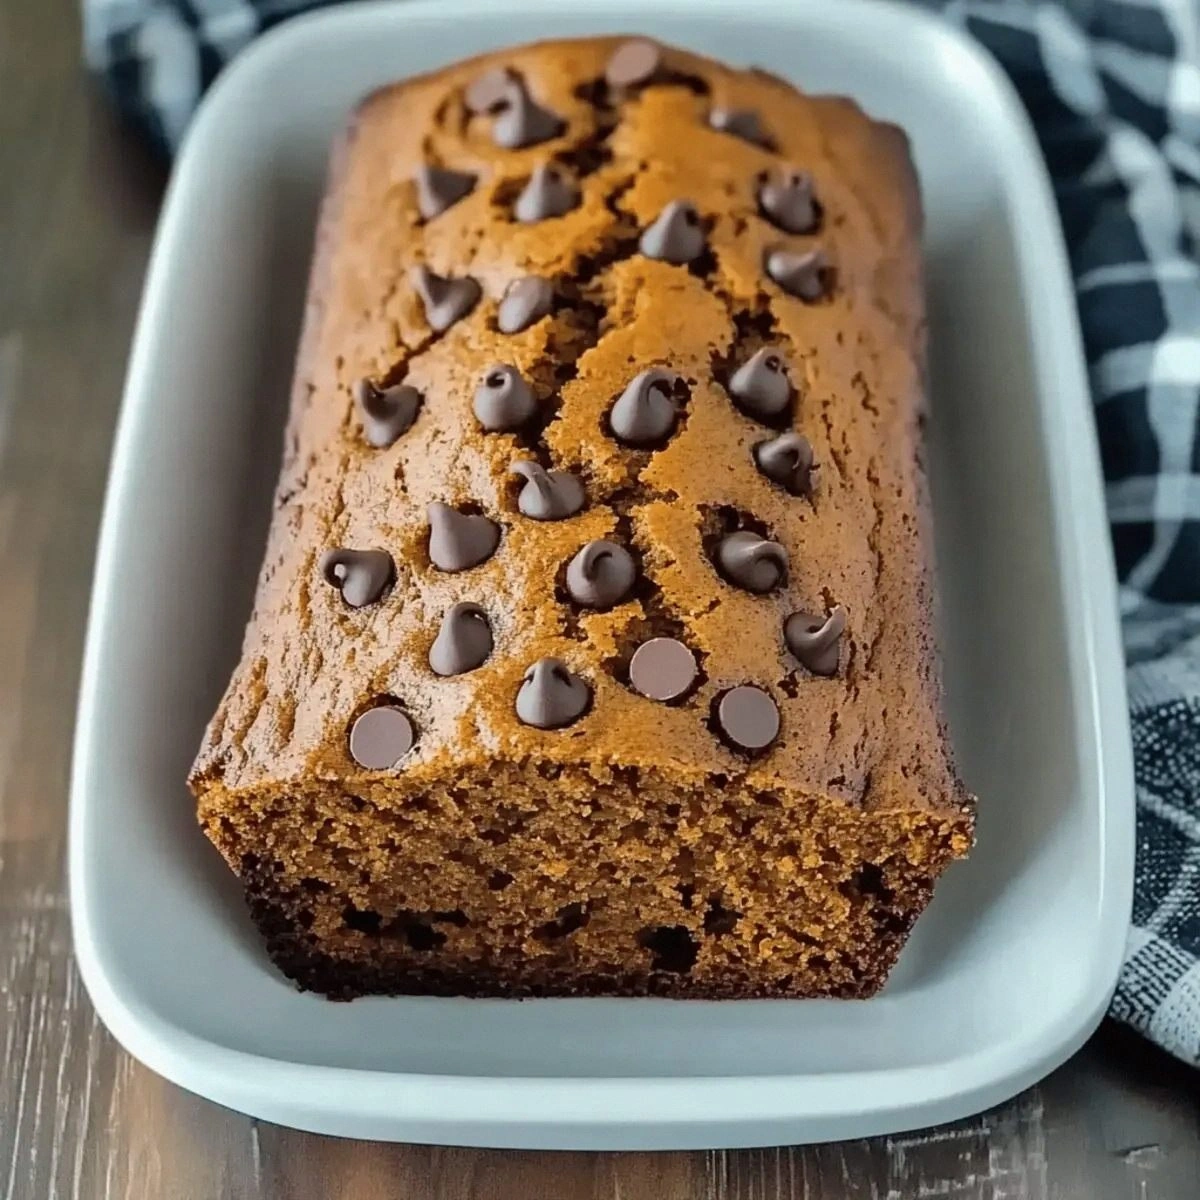
No‑Bake 15‑Minute Chocolate Peanut Butter Bars – Quick, Crunchy, Crowd‑Pleaser
Imagine the satisfaction of biting into a bar that perfectly balances rich, velvety chocolate with the salty‑sweet decadence of peanut butter, all while offering a satisfying crunch from toasted oats and a hint of sea salt on top. This isn’t a distant fantasy—it’s a reality you can create in just fifteen minutes, without ever turning on your oven. Whether you’re planning a last‑minute potluck, looking for a snack that will keep the kids (and adults) happy after school, or simply craving a sweet treat that doesn’t require a mess of bowls and pans, these No‑Bake Chocolate Peanut Butter Bars deliver on every front.
The genius of this recipe lies in its simplicity. By using pantry staples like rolled oats, creamy peanut butter, honey, and chocolate chips, you can whip up a batch in the time it takes to brew a cup of coffee. The bars set quickly in the refrigerator, allowing you to serve them straight from the fridge for that perfect firm‑yet‑chewy texture, or let them sit at room temperature for a softer bite. The combination of flavors is timeless: the deep cocoa notes of dark chocolate marry beautifully with the nutty, buttery richness of peanut butter, while a drizzle of honey adds a subtle floral sweetness that ties everything together.
Beyond the taste, these bars are surprisingly versatile. They can be cut into bite‑size squares for a party platter, sliced into larger bars for a hearty snack, or even layered in a glass jar for a portable dessert. And because they’re made without baking, they’re ideal for summer gatherings when you want to keep the kitchen cool. The recipe also lends itself to countless variations—swap almond butter for a different nutty twist, add dried fruit for extra chew, or sprinkle toasted coconut for a tropical flair. No matter how you customize them, the core of this recipe remains a quick, crowd‑pleasing solution that feels indulgent yet approachable.
In the sections that follow, you’ll discover why this recipe has become a staple in busy households, a detailed ingredient breakdown with a helpful image, step‑by‑step instructions that leave no room for confusion, pro tips that elevate the final product, and ideas for substitutions to accommodate dietary preferences. We’ll also cover storage methods to keep your bars fresh for up to a week, and answer common questions about texture, sweetness, and more. Ready to create a dessert that will have everyone reaching for seconds? Let’s dive in and start assembling these irresistible, no‑bake chocolate peanut butter bars.
Why You’ll Love This Recipe
- Ready in 15 minutes – perfect for busy weekdays.
- No oven required – keeps your kitchen cool.
- Minimal cleanup – just a mixing bowl and a pan.
- Balanced flavor profile – chocolate, peanut butter, honey, and a pinch of sea salt.
- Customizable – swap nuts, add dried fruit, or use vegan alternatives.
- Kid‑approved – sweet enough to satisfy, but with wholesome oats for a bit of fiber.
- Great for any occasion – parties, school lunches, post‑workout snacks.
Ingredients

- 1 ½ cups rolled oats (old‑fashioned)
- ½ cup creamy peanut butter (or almond butter)
- ¼ cup honey (or maple syrup for vegans)
- ¼ cup unsalted butter, melted
- ½ tsp vanilla extract
- ¼ tsp sea salt (plus extra for sprinkling)
- 1 cup semi‑sweet chocolate chips
- 2 tbsp coconut oil (optional, for smoother chocolate)
Tip: For a gluten‑free version, substitute the rolled oats with certified gluten‑free oats or a blend of quinoa flakes and rice cereal. The rest of the ingredients are naturally gluten‑free.
Step‑by‑Step Instructions
- Prepare the pan. Line an 8×8‑inch square baking pan with parchment paper, leaving an overhang on two sides for easy removal. Lightly grease the parchment with a teaspoon of melted butter.
- Toast the oats. In a dry skillet over medium heat, toast the rolled oats for 3‑4 minutes, stirring constantly, until they turn golden and fragrant. Transfer to a large mixing bowl.
- Combine wet ingredients. In a microwave‑safe bowl, combine the peanut butter, honey, melted butter, vanilla, and sea salt. Microwave in 20‑second intervals, stirring after each, until the mixture is smooth and glossy (about 60 seconds total).
- Mix the base. Pour the warm peanut‑butter mixture over the toasted oats. Stir vigorously until every oat is evenly coated. The mixture should be thick but pliable.
- Press the base. Transfer the oat‑peanut‑butter mixture into the prepared pan. Using a piece of parchment or the back of a spoon, press it down firmly and evenly, creating a compact base layer.
- Melt the chocolate. In a microwave‑safe bowl, combine the chocolate chips, coconut oil (if using), and a pinch of sea salt. Microwave in 30‑second bursts, stirring between each, until the chocolate is fully melted and smooth (about 90 seconds total).
- Spread the chocolate. Pour the melted chocolate over the pressed oat base. Using an offset spatula, spread it into an even layer. For a decorative finish, sprinkle a few extra sea‑salt flakes on top.
- Set the bars. Place the pan in the refrigerator for at least 30 minutes, or until the chocolate has hardened and the base is firm.
- Slice and serve. Using the parchment overhang, lift the slab out of the pan and place on a cutting board. Cut into 12‑16 squares, depending on desired size. Serve immediately or store as directed below.
- Enjoy! Share with family, friends, or keep them all to yourself—these bars are designed to disappear quickly.
Pro Tips & Tricks
- Use room‑temperature butter. Softened butter incorporates more easily with the peanut butter, creating a smoother base.
- Don’t over‑mix the chocolate. Once melted, stir just until glossy. Over‑stirring can cause the chocolate to seize.
- Press firmly. A compact base prevents the bars from crumbling when you cut them.
- Chill before slicing. If you’re in a hurry, place the pan on a metal cooling rack in the freezer for 15 minutes; this speeds up setting without affecting texture.
- Finish with a drizzle. For extra visual appeal, drizzle a thin line of melted white chocolate or caramel over the top before chilling.
Variations & Substitutions
Nut‑Free Version
Replace peanut butter with sunflower seed butter or soy nut butter. The flavor will shift slightly, but the creamy texture remains.
Vegan Adaptation
Swap honey for maple syrup or agave nectar, and use a plant‑based butter (such as coconut oil or vegan margarine). Ensure chocolate chips are dairy‑free.
Extra Crunch
Add ¼ cup chopped peanuts, toasted coconut flakes, or puffed rice cereal to the oat base for an additional textural surprise.
Flavor Boost
Stir in ½ tsp espresso powder or a pinch of cayenne into the chocolate layer for a subtle depth that pairs beautifully with the peanut butter.
Storage Tips
Once cut, store the bars in an airtight container lined with parchment paper between layers. Keep them in the refrigerator for up to 7 days. For a softer texture, let the bars sit at room temperature for 10‑15 minutes before serving. If you need to store them longer, the bars freeze well; wrap the entire pan tightly in plastic wrap and foil, then freeze for up to 3 months. Thaw in the refrigerator overnight before slicing.
Frequently Asked Questions
No‑Bake Chocolate Peanut Butter Bars
Category: Desserts
Ingredients
Instructions
- Line an 8×8 in pan with parchment paper.
- Toast oats in a skillet, then set aside.
- Microwave peanut butter, honey, butter, vanilla, and salt until smooth.
- Combine wet mixture with oats; press into pan.
- Melt chocolate (and coconut oil) in the microwave.
- Spread chocolate over the base; sprinkle sea‑salt.
- Refrigerate 30 min until firm.
- Lift out using parchment, slice, and serve.
Nutrition (per bar, makes 12)
| Calories | 210 kcal |
|---|---|
| Fat | 12 g |
| Carbohydrates | 22 g |
| Protein | 5 g |
| Sugar | 12 g |
| Fiber | 3 g |