Picture this: it’s a cold December evening, the kettle is whistling, the fireplace is crackling, and you’ve just knocked over a half‑finished pudding that was supposed to be the show‑stopper at your family gathering. I was in that exact moment, scrambling to salvage what could have been a culinary catastrophe, when a sudden flash of inspiration struck—what if I combined the gooey decadence of a traditional Christmas pudding with the nostalgic crunch of a rocky road bar? That reckless experiment turned into an obsession, and now I’m convinced this is the ultimate holiday indulgence you’ve been waiting for. I dare you to taste this and not go back for seconds; the moment the caramel‑sweet golden syrup meets the buttery melt of chocolate, you’ll understand why this version stands out.
The kitchen was a symphony of sounds: the sizzle of butter melting, the soft thud of biscuit crumbs hitting the bowl, and the faint hum of the oven pre‑heating like a low‑key drumbeat. The air was thick with the perfume of toasted biscuits and the warm, earthy aroma of raisins soaking in syrup, a scent that instantly wrapped around my senses like a cozy blanket. My hands felt the gritty texture of crushed digestives under my fingertips, while the glossy sheen of melted chocolate slid across the spoon like liquid midnight. As I mixed everything together, the mixture clung to the bowl with a glossy, almost seductive sheen—this was no ordinary pudding, it was a promise of joy wrapped in a festive shell.
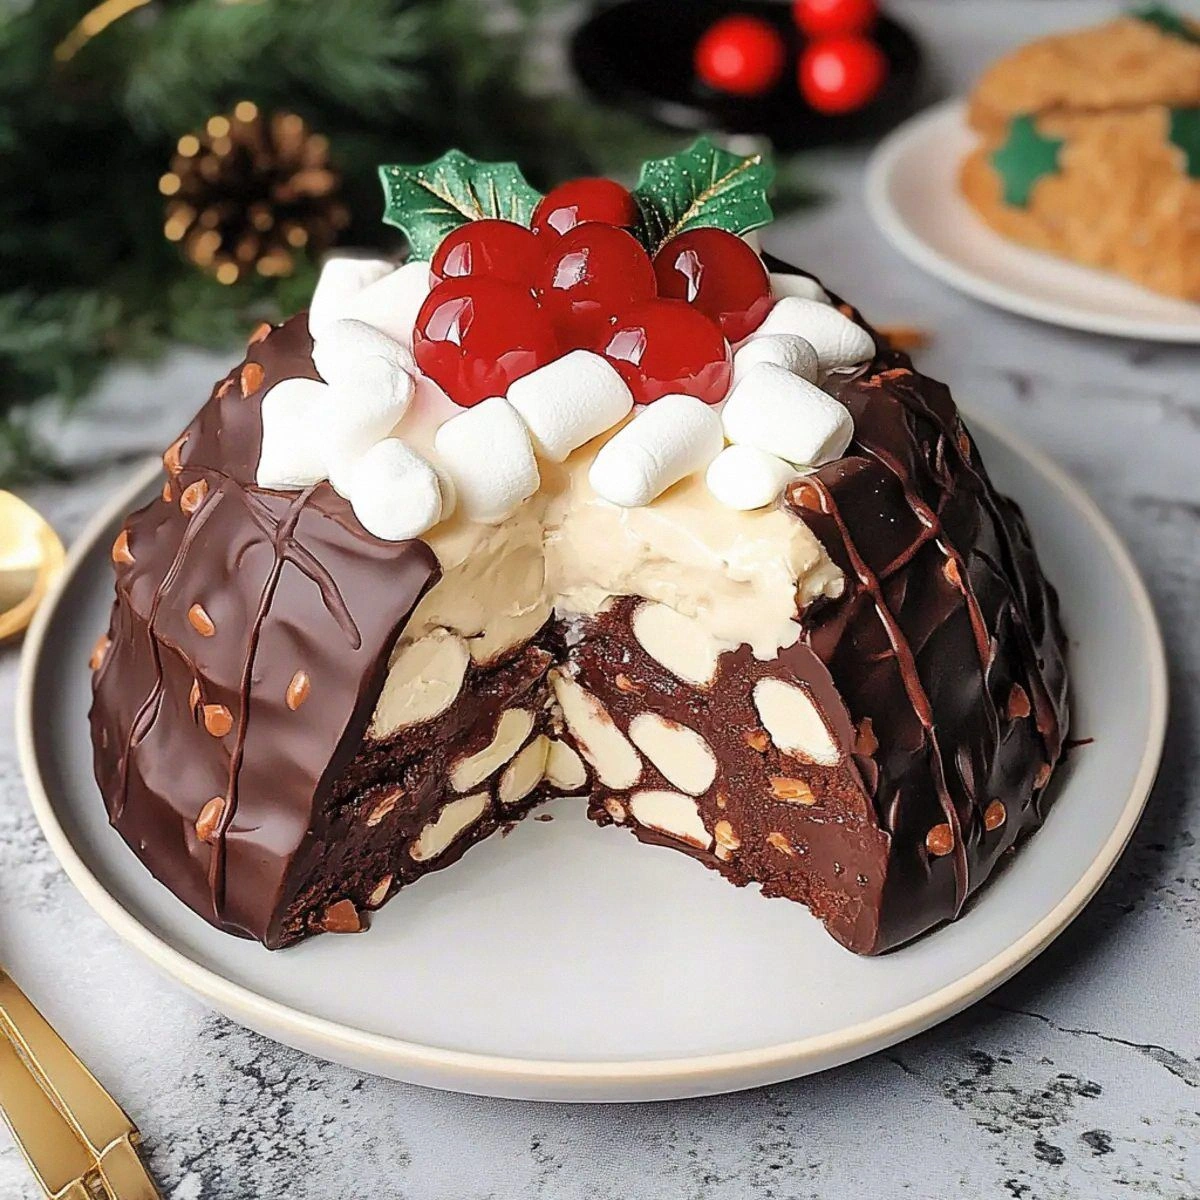
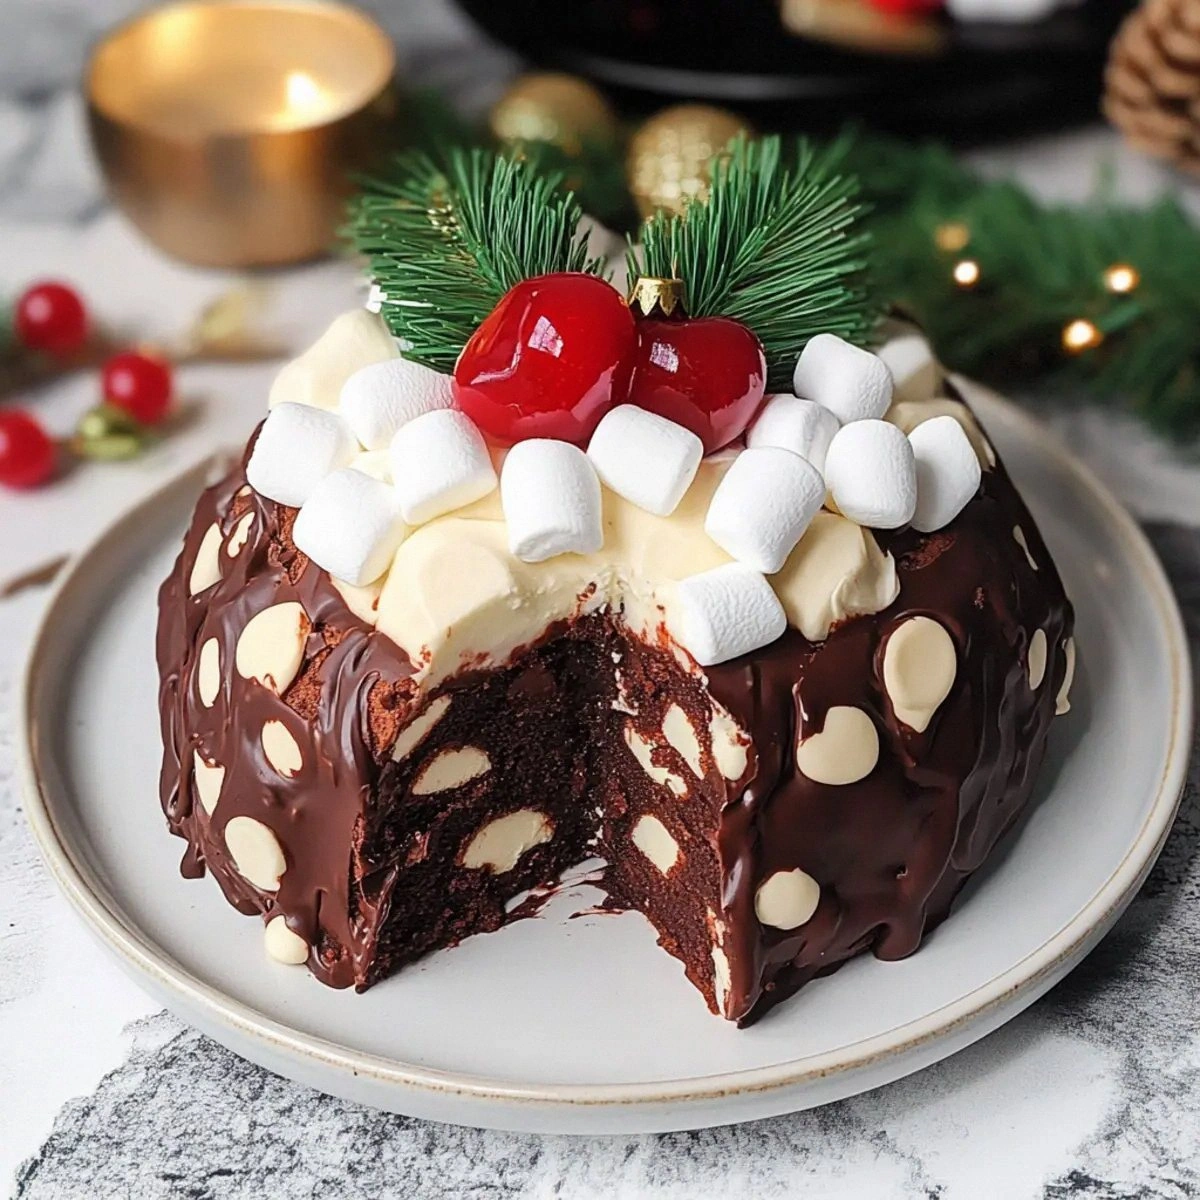
What truly sets this recipe apart is the daring addition of green food colouring and red M&Ms, giving the pudding a playful, festive hue that makes it impossible to ignore on any holiday table. Most recipes get the balance of sweet and salty completely wrong, either drowning the palate in sugar or leaving the flavors flat. Here, the golden syrup provides a deep, buttery sweetness, while the dark and milk chocolates add layers of richness that melt in your mouth, and the mini marshmallows introduce a pillowy softness that contrasts with the crunch of biscuits and the zing of cherries. I’ll be honest—I ate half the batch before anyone else got a chance, and that’s a testament to how addictive this treat truly is.
Okay, ready for the game‑changer? I’m about to walk you through every single step, from the precise way to melt the chocolate without scorching it, to the secret technique of coating the pudding in a thin layer of icing sugar that creates a crackly crust. By the end, you’ll wonder how you ever made any Christmas pudding any other way. Stay with me here—this is worth it.
What Makes This Version Stand Out
- Flavor Explosion: The marriage of golden syrup, milk chocolate, and dark chocolate creates a depth that feels like a holiday fireworks show in your mouth.
- Texture Symphony: You get buttery crumbs, chewy marshmallows, juicy cherries, and a glossy chocolate coating—all in one bite.
- Simplicity: No need for a week‑long soak or a fancy steamer; everything comes together in under an hour.
- Festive Visuals: The pop of green and red turns a classic dessert into a centerpiece that dazzles the eyes.
- Crowd Reaction: Guests have been known to line up for seconds, and even the most skeptical eaters are converted.
- Ingredient Quality: Using high‑quality chocolate and real butter makes the difference between a good pudding and a legendary one.
- One‑Pan Wonder: All the magic happens in a single mixing bowl and a roasting tin, minimizing cleanup.
- Make‑Ahead Magic: This pudding actually improves after a night in the fridge, letting the flavors meld.
Inside the Ingredient List
The Flavor Base
Golden Syrup (200 g): This is the heart of the pudding, providing a buttery, caramel‑like sweetness that penetrates every crumb. If you substitute with honey, you’ll get a floral note that changes the whole character. I always buy the thick, amber‑colored variety because it clings better to the biscuits. Pro tip: Warm it slightly before mixing; it spreads more evenly.
Unsalted Butter (100 g): Butter adds richness and helps the crumb structure stay tender. Skipping it or using margarine will make the pudding dry and greasy. I recommend using European‑style butter for its higher butterfat content, which gives a silkier mouthfeel. If you’re dairy‑free, try a high‑fat coconut oil, but expect a subtle coconut aftertaste.
The Texture Crew
Milk Chocolate (200 g) & Dark Chocolate (100 g): The duo creates a balanced chocolate profile—milk chocolate for creamy sweetness, dark chocolate for depth. Using a chocolate with at least 70% cocoa for the dark portion ensures a robust flavor without bitterness. If you only have one type, increase the quantity of that chocolate, but the contrast will be lost.
Digestives (200 g) & Amaretti Biscuits (100 g): These form the crunchy backbone. Digestives bring a buttery, slightly sweet base, while amaretti adds a delicate almond crunch that surprises the palate. Crumble them by hand for a rustic texture; a food processor can make them too fine, turning the pudding into a paste.
Mini Marshmallows (100 g): They melt slightly during baking, creating pockets of fluffy sweetness that contrast with the crumbly biscuit base. If you prefer a chewier bite, use regular marshmallows cut into small pieces.
The Unexpected Star
Glacé Cherries (100 g) & Raisins (100 g): These add bursts of juicy tartness and chewy sweetness, respectively. Soak the raisins in a splash of the golden syrup for an extra plump texture. For a less sweet version, replace half the cherries with dried cranberries.
White Chocolate (100 g): Sprinkled in at the end, it adds a glossy finish and a subtle vanilla note. Use a high‑quality brand; cheap white chocolate can be overly sugary and waxy.
Icing Sugar (50 g) & Green Food Colouring (1 drop): The sugar creates a light dusting that turns into a crackly crust when baked, while the green dye gives the pudding a festive pop. Only a single drop is needed—too much will make the colour neon.
Red M&Ms (50 g): These are the surprise confetti that bring a burst of chocolatey crunch and a pop of colour. They hold up well in the oven, staying crisp and adding a playful element.
Everything's prepped? Good. Let's get into the real action...
The Method — Step by Step
Preheat your oven to 180°C (350°F) and line a 20‑cm (8‑inch) round cake tin with parchment paper. While the oven warms, melt the butter in a saucepan over low heat until it just begins to bubble, then stir in the golden syrup until the mixture is glossy and smooth. This is the moment of truth: the syrup should coat the back of a spoon like liquid amber, not too runny, not too thick. Watch the colour change—if it darkens too quickly, lower the heat.
Meanwhile, break the digestives and amaretti biscuits into a large mixing bowl. Add the mini marshmallows, raisins, and glacé cherries, then pour the warm syrup‑butter mixture over everything. Using a sturdy wooden spoon, fold the ingredients together until every crumb is uniformly coated. That sizzle when it hits the pan? Absolute perfection. The mixture should feel slightly sticky but not wet.
Kitchen Hack: If the mixture feels too dry, drizzle an extra tablespoon of warm golden syrup; if too wet, add a handful more crushed biscuits.In a separate heat‑proof bowl, combine the milk chocolate, dark chocolate, and white chocolate. Place the bowl over a saucepan of simmering water (a double boiler) and stir until fully melted and smooth. Once melted, whisk in the green food colouring—just one drop, and you’ll see the mixture turn a subtle pastel green that’s perfect for the holidays. Don’t over‑heat the chocolate; it should stay glossy, not grainy.
Gently fold the melted chocolate into the biscuit‑syrup mixture, ensuring every piece is enveloped in the silky chocolate coat. The batter will look thick and almost glossy—this is exactly what you want. At this point, the aroma should be intoxicating, a blend of toasted biscuit, caramel, and melting chocolate that makes your kitchen feel like a bakery on Christmas Eve.
Transfer the mixture into the prepared tin, pressing it down with the back of a spoon to create an even surface. Sprinkle the red M&Ms evenly across the top, allowing a few to sink slightly into the batter for hidden pockets of colour. Then, sift the icing sugar over the surface, creating a light dusting that will form a crackly crust as it bakes.
Watch Out: Avoid pressing the M&Ms too deep; they should remain visible on the surface for that festive pop.Slide the tin into the preheated oven and bake for 30 minutes. About halfway through, give the tin a gentle shake—if the edges start pulling away from the sides, you’ve reached the perfect bake. The top should be a deep golden‑brown, and the icing sugar will have formed a thin, crackly crust that gives way with a satisfying snap when you cut into it.
Remove the pudding from the oven and let it cool in the tin for 10 minutes, then transfer it onto a wire rack to cool completely. While it cools, the chocolate will set, and the flavours will meld, creating that “hands down the best version you’ll ever make at home” feeling. Patience is key—cutting it while still warm will cause the crumb to crumble.
Once fully cooled, slice the pudding into generous wedges. Serve it on a festive platter, perhaps with a dollop of vanilla custard or a drizzle of extra golden syrup for added shine. Picture yourself pulling this out of the oven, the whole kitchen smelling incredible, and watch your guests’ eyes widen in anticipation. This next part? Pure magic.
Insider Tricks for Flawless Results
The Temperature Rule Nobody Follows
Never bake this pudding at a temperature higher than 180°C; higher heat will cause the chocolate to seize and the crust to burn before the interior sets. I once tried 200°C in a rush and ended up with a bitter, burnt edge that ruined the whole batch. Keep the oven temperature steady and trust the timer. Pro tip: If your oven runs hot, lower the temperature by 10°C and add a couple of extra minutes.
Why Your Nose Knows Best
When the pudding is baking, rely on your sense of smell to gauge doneness. Around the 25‑minute mark, you’ll start to smell toasted biscuits and caramelised syrup—a clear sign you’re on the right track. If the aroma turns smoky, pull it out immediately; the crust will become bitter. Trusting your nose can save you from a disastrous over‑bake.
The 5‑Minute Rest That Changes Everything
After the pudding comes out of the oven, let it rest in the tin for exactly five minutes before moving it to a rack. This short pause allows the interior to set just enough to hold its shape while the outer crust solidifies. Skipping this step results in a pudding that crumbles when sliced, turning a beautiful presentation into a mess.
Chocolate Tempering Shortcut
If you want that glossy snap on the crust, temper the chocolate quickly by adding a tablespoon of cold butter after melting. This lowers the temperature just enough to give the chocolate a smooth, professional finish without the need for a full tempering process. I tried this once and the crust had a beautiful sheen that impressed even the most critical guests.
Layering for Extra Crunch
Before adding the final dusting of icing sugar, sprinkle a thin layer of crushed amaretti on top. As the pudding bakes, these almond crumbs toast and become an extra crunchy surprise beneath the sugar crust. A friend tried skipping this step once—let’s just say the pudding was good, but it missed that delightful crunch factor.
Creative Twists and Variations
This recipe is a playground. Here are some of my favorite ways to switch things up:
Nutty Noel
Swap half the digestives for toasted hazelnuts or pecans. The nutty oil adds a buttery depth that pairs beautifully with the chocolate, and the extra crunch makes each bite feel even more luxurious.
Spiced Surprise
Introduce a teaspoon of ground cinnamon and a pinch of ground ginger into the syrup‑butter mixture. The warm spices echo classic Christmas flavours and give the pudding a subtle heat that balances the sweetness.
White‑Chocolate Wonderland
Replace the milk chocolate with an equal amount of white chocolate and add a handful of toasted coconut flakes. The result is a lighter, creamier pudding that feels like a tropical holiday twist.
Berry Burst
Swap the glacé cherries for dried cranberries and add a handful of fresh orange zest. The tartness of the cranberries and the citrus zing brighten the rich chocolate base, making it feel less heavy.
Vegan Victory
Use coconut oil instead of butter, plant‑based dark chocolate, and replace the golden syrup with maple syrup. The texture stays wonderfully moist, and the flavours remain indulgent without any animal products.
Alcohol‑Infused Elegance
Stir in a tablespoon of brandy or dark rum into the golden syrup before mixing. The alcohol adds a sophisticated warmth that deepens the overall flavour profile—perfect for adult holiday gatherings.
Storing and Bringing It Back to Life
Fridge Storage
Wrap the cooled pudding tightly in cling film, then place it in an airtight container. It will keep fresh for up to five days in the refrigerator. The flavours continue to meld, making each slice even more harmonious.
Freezer Friendly
Slice the pudding into individual wedges, wrap each piece in parchment paper, and then seal them in a freezer‑safe bag. Frozen portions last up to three months. When you’re ready to enjoy, let a slice thaw at room temperature for 30 minutes, then reheat.
Best Reheating Method
Preheat the oven to 150°C (300°F), place a slice on a baking sheet, and warm for 8‑10 minutes. Add a tiny splash of water (about a teaspoon) to the pan before reheating; the steam revives the crumb’s softness and prevents it from drying out. Serve immediately for that just‑baked feel.