I dare you to taste this and not go back for seconds. That’s the challenge I set for myself the first time I tried it, and I didn’t fail. The frosting’s smoothness is a testament to precise timing, and the buttery flavor is so authentic that it feels like you’re in a bakery. The next time you whip up a batch, keep your eyes on the texture and let the aroma guide you. Picture yourself pulling this out of the oven, the whole kitchen smelling incredible, and everyone asking for the recipe.
Let me walk you through every single step—by the end, you'll wonder how you ever made it any other way. I’ll share the micro‑challenges, the bold claims, and the little hacks that turn a simple frosting into a showstopper. I’ll also confess that I ate half the batch before anyone else got a taste. If you've ever struggled with frosting, you're not alone—this recipe is the fix you’ve been searching for.
Okay, ready for the game‑changer? The next part? Pure magic. And now the fun part. Stay with me here—this is worth it.
What Makes This Version Stand Out
- Flavor: The buttery base gives a depth that ordinary powdered sugar frosting lacks, while the vanilla lifts the sweetness without overpowering it. The result is a glaze that feels indulgent yet balanced. It’s like the difference between a plain cookie and a cookie dipped in chocolate.
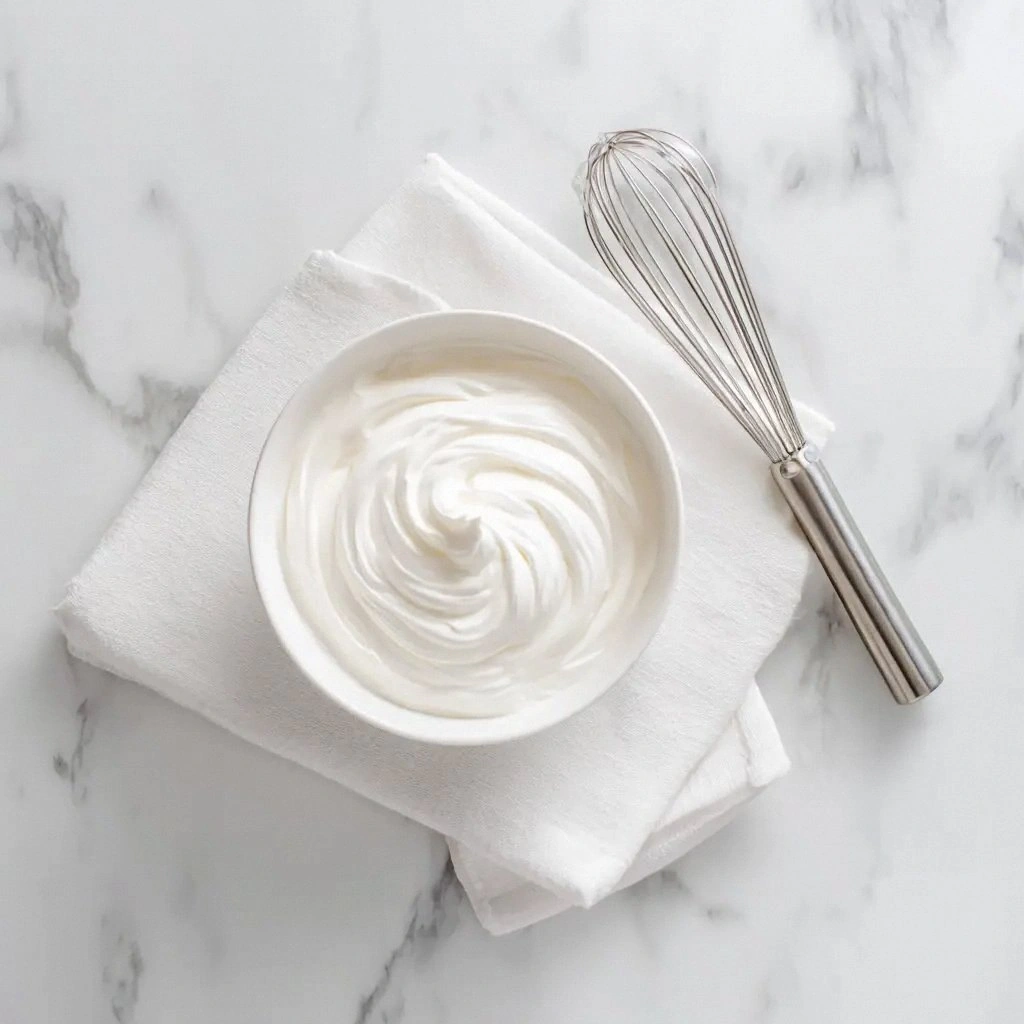
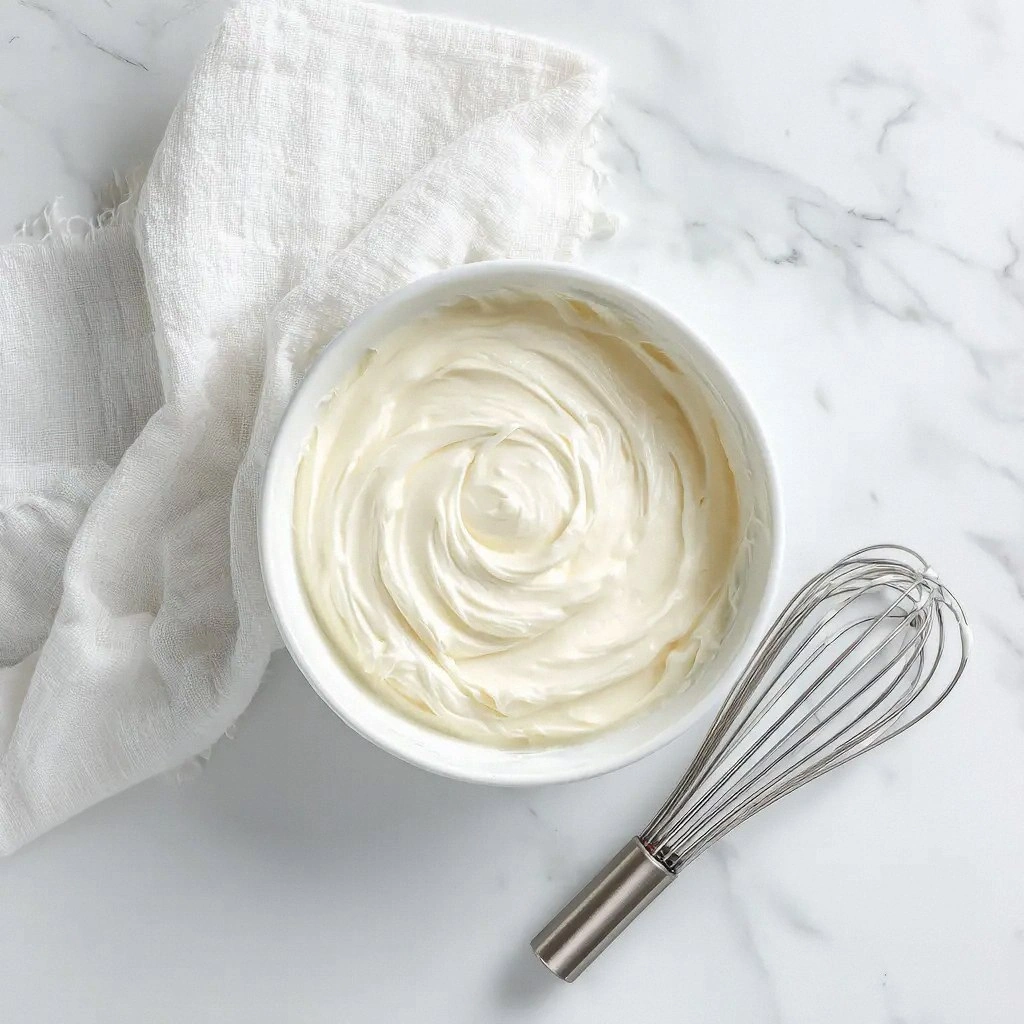
- Texture: It’s silky yet firm enough to hold its shape on cupcakes and cookies. The frosting glides smoothly without clumping or dripping, creating a flawless finish. The consistency is achieved through the precise ratio of butter to sugar.
- Simplicity: Only four ingredients, no complex techniques. Anyone can master it with basic kitchen tools. It’s a recipe that fits into any busy schedule.
- Versatility: Works on cakes, cupcakes, cookies, muffins, and even as a dip for fruit. It adapts to sweet or savory applications with a few tweaks. The frosting can be flavored with citrus zest or chocolate for variety.
- Speed: The entire process takes under five minutes, making it perfect for last‑minute dessert prep. You can whip it up between dishes or while your main course cooks.
- Make‑ahead Potential: The frosting can be prepared a day in advance and stored in the fridge, remaining smooth and fresh. It’s ideal for parties or events where you need to prep ahead.
- Ingredient Quality: Using unsalted butter ensures a clean flavor profile, free from added salt that could alter sweetness. High‑quality powdered sugar gives a fine, powdery texture. Fresh vanilla extract adds a natural aroma.
- Presentation: The frosting’s glossy finish makes any dessert look professionally finished. It’s a visual upgrade that impresses guests instantly.
Alright, let's break down exactly what goes into this masterpiece…
The Flavor Base
Unsalted butter is the heart of this frosting. It provides richness and a buttery undertone that elevates the sweetness of the powdered sugar. When melted, it blends seamlessly with the sugar, creating a cohesive texture. If you skip the butter, the frosting becomes dry and lacks depth.
The Texture Crew
Powdered sugar is the glue that holds the frosting together. Its fine particles dissolve quickly, preventing lumps and giving the glaze its silky feel. Using confectioners’ sugar instead of regular granulated sugar is essential for a smooth finish. If you use a coarse sugar, the frosting will feel gritty.
The Unexpected Star
Vanilla extract is more than a flavor enhancer; it brings aroma and a subtle depth that balances the butter’s richness. A teaspoon is enough to infuse the entire batch with a warm, comforting scent. You can swap vanilla for almond or lemon extract for a twist.
The Final Flourish
Milk or heavy cream adjusts the consistency, making the frosting pourable or spreadable. Two to three tablespoons is a sweet spot—too little and it’s thick; too much and it becomes runny. If you’re vegan, a splash of non‑dairy milk works just as well.
Everything's prepped? Good. Let's get into the real action…
The Method — Step by Step
- Step 1: Melt the butter in a microwave‑safe bowl for 20‑30 seconds or until just liquid. Let it cool slightly; if it’s too hot, the powdered sugar will clump. This ensures a smooth base without scorching the butter. Watch the color shift to a pale gold for a subtle richness.
- Step 2: Add the powdered sugar gradually, about a half cup at a time, while whisking continuously. This prevents lumps and allows the sugar to incorporate evenly. The frosting should start to thicken as you add more. Feel the texture change from liquid to creamy.
- Step 3: Stir in the vanilla extract and whisk again until fully blended. The aroma of vanilla will fill the kitchen, creating an irresistible scent. This step is crucial for flavor depth. The mixture should be glossy and smooth.
- Step 4: Slowly pour in the milk or heavy cream, one tablespoon at a time, whisking after each addition. Stop when the frosting reaches a spreadable consistency. Too much liquid will make it runny; too little will make it stiff. The goal is a silky glaze that drips gently.
- Step 5: Whisk the frosting on medium speed for 1‑2 minutes until it becomes light and airy. The frosting should hold a soft peak when you lift the whisk. This aeration adds a delicate texture. The frosting now feels almost like a mousse.
- Step 6: Test the frosting on a spoon; it should coat the back of the spoon without dripping. If it drips, add a splash of milk; if it’s too thick, add more milk. This final check ensures the frosting is perfect for spreading or piping.
- Step 7: Transfer the frosting to a piping bag or a plastic bag with a corner snipped for a decorative finish. The frosting should flow smoothly through the tip. This step allows you to create swirls, rosettes, or simple lines on cupcakes.
- Step 8: Apply the frosting to your baked goods. Let it set at room temperature for 10 minutes before serving. The frosting will firm up slightly, giving a satisfying bite. Enjoy the silky, buttery finish.
That's it — you did it. But hold on, I've got a few more tricks that'll take this to another level. The frosting can be tweaked for different occasions, and you’ll learn how to keep it fresh and luscious for days.
Insider Tricks for Flawless Results
I’ve spent countless hours testing and tweaking this frosting to get the perfect texture and flavor. Below are the tricks that have turned this recipe into a staple in my kitchen. These are not just tips; they’re the secret sauce that elevates every batch.
The Temperature Rule Nobody Follows
Keep the butter at room temperature for at least 30 minutes before melting. A warm butter incorporates more quickly and reduces the risk of clumping. If you’re short on time, microwave in short bursts and stir between each to avoid overheating. This simple step saves you from a sticky mess.
Why Your Nose Knows Best
Smell the frosting as you whisk. A sweet, buttery scent indicates the right balance. If it smells too “buttery” or “sweet,” adjust the milk. Your nose is a reliable guide to flavor harmony.
The 5‑Minute Rest That Changes Everything
After whisking, let the frosting sit for 5 minutes before using it. This resting period allows the butter to re‑solidify slightly, giving the frosting a firmer hold on cupcakes. I’ve seen frosting that sets instantly and then softens; the rest prevents that.
Avoiding the “Too Sweet” Trap
If you find the frosting too sweet for your taste, add a pinch of salt. The salt balances the sweetness without overpowering the vanilla. It’s a small tweak with a big impact on flavor depth.
The Quick Fix for a Runny Frosting
If your frosting drips off the spoon, add a teaspoon of powdered sugar at a time until it thickens. This quick fix keeps the frosting from becoming too thin. Just be careful not to over‑add sugar; you want a smooth finish, not a gritty one.
Storing for Freshness
Keep the frosting in an airtight container in the refrigerator. The butter will firm up, so let it sit at room temperature for 15 minutes before using. A quick whisk will restore its silky texture. This storage method keeps the frosting fresh for up to a week.
Creative Twists and Variations
This recipe is a playground. Here are some of my favorite ways to switch things up: swap vanilla for citrus zest for a bright lift, or add cocoa powder for a chocolatey twist. I’ve experimented with everything from espresso to smoked sea salt for a savory kick. These variations keep the frosting fresh and exciting for every occasion.
Citrus Zest Splash
Add a tablespoon of finely grated lemon or orange zest to the frosting. The citrus adds a bright, fresh note that pairs well with lemon cakes or vanilla cupcakes. The zest also provides a subtle aroma that enhances the overall experience.
Chocolate Drizzle
Stir in 2 tablespoons of melted dark chocolate into the frosting. This creates a rich, chocolate‑butter glaze perfect for chocolate cakes. The chocolate thickens the frosting slightly, giving it a luxurious mouthfeel.
Coffee Infusion
Blend a teaspoon of instant espresso powder into the frosting. The coffee flavor adds depth and pairs wonderfully with chocolate or caramel desserts. It’s a quick way to elevate a simple frosting into a gourmet treat.
Sea‑Salted Sweetness
Sprinkle a pinch of flaky sea salt over the finished frosting. The salt balances the sweetness and adds a subtle crunch. This twist works especially well on carrot or pumpkin cakes.
Berry Burst
Fold in a few tablespoons of fresh or frozen berries, pureed and strained. The berries add a natural sweetness and a pop of color. Use this frosting on strawberry cupcakes or as a dip for fruit.
Minty Fresh
Add a drop of peppermint extract for a cool, refreshing finish. The mint pairs beautifully with chocolate or lemon cakes. Be careful with the amount; a little goes a long way.
Storing and Bringing It Back to Life
Fridge Storage
Keep the frosting in a tightly sealed container in the refrigerator for up to a week. The butter will firm, so let it sit at room temperature for 10‑15 minutes before using. A quick whisk restores its silky texture. This method keeps the frosting fresh and ready for any last‑minute dessert.
Freezer Friendly
Freeze the frosting in an airtight container for up to two months. When you’re ready to use it, thaw in the refrigerator overnight. Give it a quick whisk to re‑incorporate the butter. The texture remains smooth, and it’s a lifesaver for parties.
Best Reheating Method
To revive a frozen or refrigerated frosting, place it in a bowl and microwave on low for 10‑15 seconds, stirring after each interval. Add a splash of water or milk to loosen the consistency. This gentle heat restores the frosting’s spreadability without melting the butter.